
How to Trace and Identify 9-Wire Electric Motors Using Polarity Tests
- Apr 25
- 3 min read
Presented by Amindus Cosulting and Solutions
Polarity testing on a 9-wire Electric Motors is essential for ensuring correct phase identification and proper functioning of the machine. Misidentifying the coils can lead to incorrect connections, resulting in poor performance or damage.
This guide walks you through the step-by-step process to identify the polarity of coils T1-T4, T2-T5, T3-T6, T7, T8, and T9 using practical methods. Whether you are a technician or an engineer, this detailed approach will help you perform polarity tests confidently and accurately.

Materials Required
Before starting the polarity test, gather the following tools and materials:
Digital or analog voltmeter (preferably with AC/DC measurement capability)
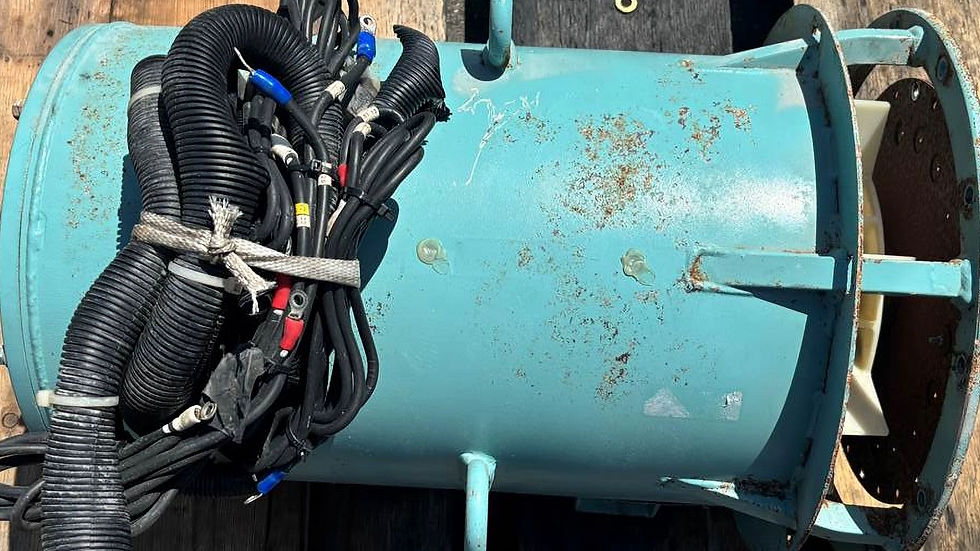
9-wire Electric Motors clearly marked terminals (T1 to T9)
Battery (for simple kick test method)
Connecting wires or test leads
Continuity tester or multimeter with continuity function
Insulated gloves and safety glasses for protection
Having these materials ready will streamline the testing process and ensure safety.
Step 1: Identify the Continuity Pairs
The first step is to find which terminals form pairs of coils by checking continuity. Each coil in the alternator has two ends, and you need to identify these pairs before testing polarity.
Set your multimeter to continuity mode.
Test between terminals to find pairs that show continuity (a beep or low resistance).
Typical pairs in a 9-wire Electric Motors are:
- T1 and T4
- T2 and T5
- T3 and T6
- T7 and T8 (sometimes T9 is separate or neutral)
Mark these pairs clearly to avoid confusion in the next steps.
Step 2: Understand the Principle of the Polarity Test
Polarity testing determines the direction of the magnetic field generated by each coil when energized. The goal is to identify which terminal is positive and which is negative relative to a reference coil.
When current flows through a coil, it creates a magnetic field.
The polarity test checks if the magnetic field direction of one coil matches or opposes the reference coil.
Matching polarity means the coils are in phase; opposite polarity means they are out of phase.
This principle helps ensure the Electric Motor phases are connected correctly for balanced output.
Simple Method with Battery (Kick Test)
This method uses a small battery to energize coils briefly and observe voltage changes on the voltmeter.
Step 3: Choose a Reference Coil
Select one coil pair as a reference, usually T1-T4. This coil will serve as the baseline for polarity comparison.
Step 4: Connect the Voltmeter
Connect the voltmeter leads across the reference coil terminals.
Set the voltmeter to measure DC voltage.
Step 5: Kick-Off
Briefly connect the battery across the reference coil terminals to energize it.
While the battery is connected, observe the voltmeter reading on the coil you want to test.
A positive voltage spike indicates matching polarity.
A negative voltage spike indicates opposite polarity.
Interpretation
If the tested coil shows a voltage spike in the same direction as the reference coil, the polarity is the same.
If the spike is reversed, the polarity is opposite.
Record the polarity for each coil pair.
Step 6: Repeat for All Phases
Repeat the kick test for each coil pair (T2-T5, T3-T6, T7-T8, T9 if applicable) to identify their polarity relative to the reference coil.
Important Rules for Polarity Testing
Always use a low-voltage battery to avoid damaging coils.
Make sure connections are secure to get accurate readings.
Perform tests in a safe environment with protective gear.
Label wires clearly after testing to prevent wiring errors.
Confirm continuity before polarity testing to avoid false results.
Method with AC (More Professional)
For a more precise and professional approach, use an AC source and an oscilloscope or AC voltmeter.
Connect the AC source to the reference coil.
Measure the induced voltage in the other coils.
Observe the phase relationship between the reference coil and the tested coil.
Coils in phase will show voltage peaks aligned; coils out of phase will show peaks shifted by 180 degrees.
This method provides a clear visual of polarity and phase alignment.
Summary
Performing a polarity test on a 9-wire Electric Motors is critical for correct phase identification and proper machine operation. Start by identifying continuity pairs, then use either the simple battery kick test or a professional AC method to determine coil polarity. Always choose a reference coil and compare others against it. Label your findings clearly to avoid wiring mistakes.


Comments