
How to Reconnect an AC Alternator When Wire Labels Are Missing
- Apr 23
- 3 min read
Presented by Amindus Consulting and Solutions
Reconnecting an AC alternator when the wire labels are missing can feel like trying to solve a puzzle without the picture on the box. Without clear markings, it’s easy to connect the wrong wires, which can cause the alternator to malfunction or even damage the equipment. This guide will walk you through the process of identifying and reconnecting the wires safely and correctly, using simple tools like a multimeter and some practical testing methods.

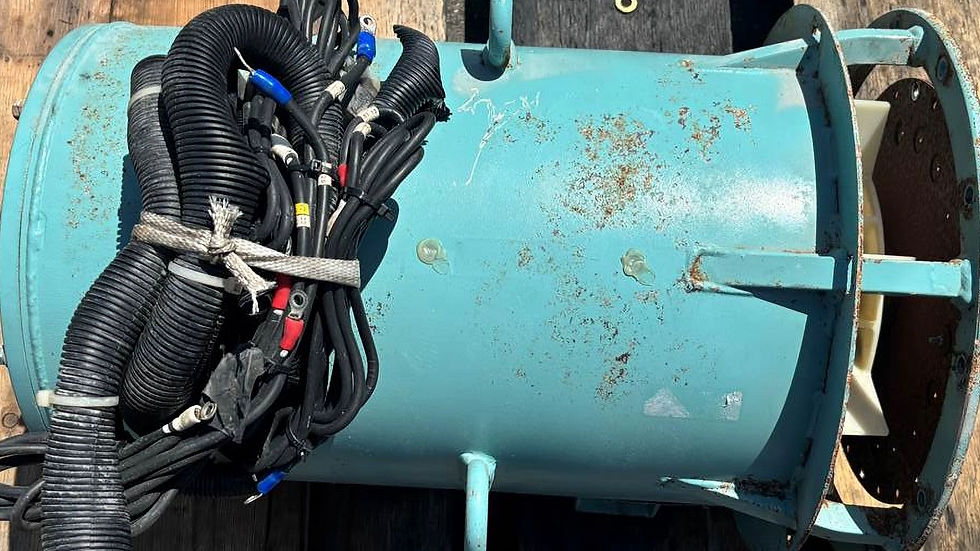
Close-up view of an AC alternator winding with exposed wires
Common Challenges When Wire Labels Are Missing
When you open an alternator and find no wire labels, several challenges arise:
Identifying start and finish leads: Without labels, it’s unclear which wire is the beginning or end of a winding.
Avoiding incorrect connections: Wrong wiring can cause the alternator to produce no voltage or even short circuits.
Understanding winding configuration: Alternators can have multiple coils connected in series or parallel, complicating the process.
Safety risks: Incorrect handling can lead to electric shocks or damage to the alternator and connected devices.
These challenges make it essential to approach the task methodically and with the right tools.
Tools You Will Need
Before starting, gather the following:
A digital multimeter with continuity and voltage testing functions
Insulated screwdrivers and pliers
Electrical tape or wire markers for labeling wires after identification
Safety gloves and eye protection
Step-by-Step Instructions for Identifying Start and Finish Leads
Step 1: Visual Inspection
Begin by carefully inspecting the alternator’s wiring. Look for:
Wire colors and any remnants of labels
Physical condition of wires and terminals
Connection points on the stator windings
Sometimes, the start and finish leads are connected to specific terminals or have slightly different wire thicknesses.
Step 2: Test for Continuity Between Wires
Using your multimeter set to continuity mode:
Identify all wires coming from the alternator windings.
Test continuity between pairs of wires to find which ones belong to the same coil.
A beep or low resistance reading indicates a continuous winding between those wires.
Record which wires are connected to each coil.
Step 3: Identify Start and Finish Leads of Each Coil
To find the start and finish leads:
Mark one wire as a reference point.
Use the multimeter to measure resistance between the wires of each coil. The resistance should be low and consistent.
The start lead is where the coil begins; the finish lead is where it ends.
If the winding is unknown, you can use a battery and a small test light or buzzer to check the direction of current flow, which helps identify the start lead.
Step 4: Determine the Winding Configuration
Alternators often have multiple coils connected in series or parallel:
Check if coils are connected end-to-start (series) or start-to-start (parallel).
Use the multimeter to measure resistance across the entire winding. Series connections will have higher resistance than parallel.
Step 5: Reconnect the Wires
Once you identify the start and finish leads:
Connect the wires according to the alternator’s wiring diagram if available.
If no diagram exists, connect coils in series by joining the finish lead of one coil to the start lead of the next.
Leave the start lead of the first coil and the finish lead of the last coil as output terminals.
Label each wire clearly to avoid confusion in the future.
Tips for Using a Multimeter Effectively
Continuity mode: Use this to check if two points are electrically connected. A beep means continuity.
Resistance mode: Measure resistance to confirm coil integrity. Typical winding resistance ranges from a few ohms to several hundred ohms depending on the alternator.
Voltage mode: After reconnecting, test the alternator output voltage by spinning the rotor or running the engine.
Always start with the highest resistance range and move down to avoid damaging the meter.
Keep the multimeter probes steady to get accurate readings.
Safety Precautions to Follow
Working with alternators involves electrical components and moving parts. Keep these safety tips in mind:
Disconnect power sources before working on the alternator.
Wear insulated gloves and eye protection.
Avoid touching exposed wires or terminals when the alternator is running.
Work in a dry, well-lit area.
Use insulated tools to prevent accidental shorts.
If unsure about any step, consult a professional electrician or technician.
Final Thoughts
Reconnecting an AC alternator without wire labels requires patience, careful testing, and attention to detail. By following the steps above, you can identify the start and finish leads, understand the winding configuration, and reconnect the wires safely. Using a multimeter effectively is key to this process, and always prioritize safety.


Comments