
How to Clean Flood Damaged Vehicles: Transmission, Brakes and Electrical Systems
Presented by Amindus Consulting and Solutions
Floodwater does not have to reach the roof to cause serious vehicle damage. Water only needs to enter vents, seals, bearings, connectors, or fluid housings to start corrosion and failures.
Do not start a vehicle that sat in water until it has been inspected. The National Highway Traffic Safety Administration warns that flood damage can affect electrical and safety systems, even when the vehicle looks clean.
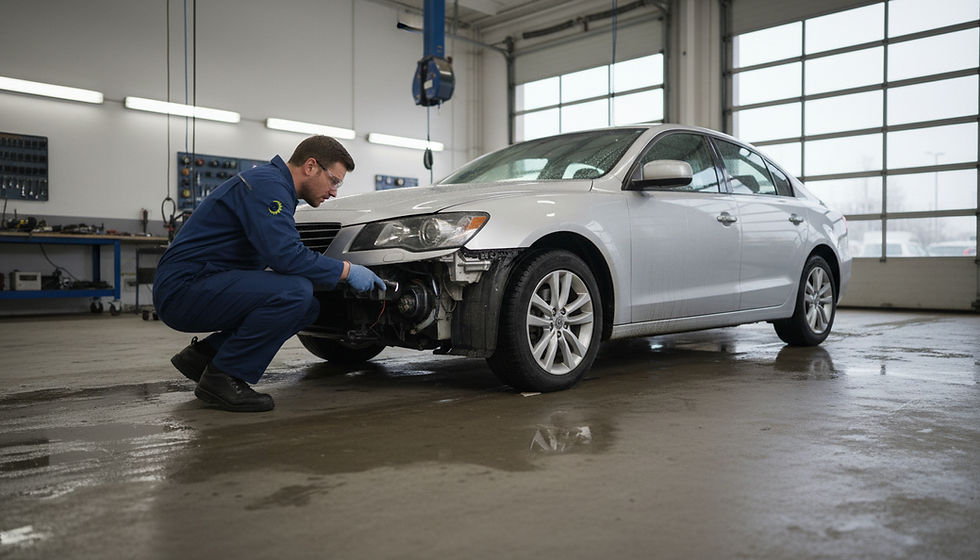
Start with a safe baseline inspection
Before checking the transmission, brakes, bearings, suspension, or electrical connectors, confirm how deep the water went.
Look for a water line on:
Door panels
Seat frames
Carpet edges
Trunk lining
Wheel wells
Engine bay plastics
Headlight housings
Fresh water is bad. Salt water is worse. Muddy water is also serious because grit gets into seals and moving parts. If the vehicle was submerged above the floor, treat every low-mounted connector, vent, bearing, and brake part as suspect.
Take photos before cleaning. Record the water height. This helps a mechanic, insurance adjuster, or future buyer understand the damage level.
Do these quick checks before anything else:
Disconnect the battery if it is safe to reach.
This lowers the chance of short circuits.
Do not crank the engine.
Water in the intake or cylinders can cause severe engine damage.
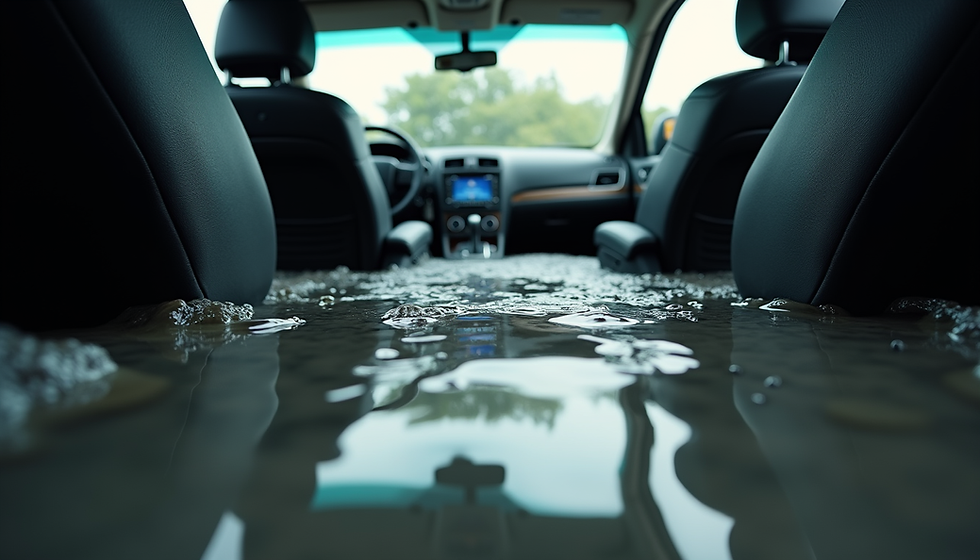
Check the cabin for standing water.
Wet carpet can keep wiring and control modules damp for days.
Smell for fuel, burning, or melted plastic.
Stop if anything smells unsafe.
Tow the vehicle if water reached the engine bay or floor.
Driving can turn a repairable problem into a major failure.
A Flooded Car can look normal after a wash, but water damage often shows up later as grinding noises, warning lights, dragging brakes, or shifting problems.
Check the transmission and differential for water damage
The transmission sends power from the engine to the wheels. The differential helps the drive wheels turn at different speeds, such as during a turn. Both units contain lubricating fluid. Water ruins that fluid.
Transmission and differential housings are sealed, but not sealed like a submarine. They often have vents. When hot parts cool quickly in floodwater, they can pull in moisture through seals and vents.
Look for signs of contaminated transmission fluid
Automatic transmission fluid is usually red or reddish brown. Manual transmission fluid may look amber or darker, depending on type and age. Water contamination changes the fluid.
Look for:
Milky or pink fluid
Foam or bubbles on the dipstick
A higher fluid level than normal
Burnt smell mixed with a sour or swampy odor
Rust on the dipstick
Delayed shifting
Slipping under light acceleration
Jerking when shifting into drive or reverse
If the vehicle has a transmission dipstick, check it only when the vehicle is safe and the owner’s manual procedure is followed. Some vehicles need to be warm and idling for a correct level check. Others have no dipstick and need a shop inspection.
Do not rely on color alone. Some old transmission fluid is dark from age. Water-contaminated fluid often looks cloudy, creamy, or foamy.
Check the differential fluid for water
Most differentials do not have a dipstick. They have a fill plug. A mechanic can remove the fill plug and inspect the fluid.
Water in differential oil often creates:
Gray or milky gear oil
Rust color on the plug
Metal flakes mixed with water-contaminated fluid
Whining from the rear or front axle
Clunking when shifting from park to drive
Vibration during turns
Many differential plugs have magnets. Small metallic paste can be normal wear. Sharp flakes or heavy metal debris are not normal, especially after flooding.
If the vehicle is four-wheel drive or all-wheel drive, check the transfer case too. It also contains fluid and may have vents.
Listen during a short controlled test only after inspection
Do not road test a flooded vehicle until the brakes work, electrical systems are stable, and fluids are checked. If it passes those basic checks, listen for:
Delayed engagement when selecting drive
Harsh shifts
Grinding in manual gears
Whine that rises with road speed
Clunks on acceleration or deceleration
Shudder during turns
A shop may recommend draining and refilling fluid more than once. That is because water can cling inside housings, coolers, and lines. If the vehicle has already been driven with water-contaminated fluid, internal damage may have started.

Inspect brakes, wheel bearings, and suspension step by step
Brake and suspension parts live low on the vehicle, so they get hit first. Water can wash away grease, leave grit behind, rust bare metal, and damage brake hardware.
Use this step-by-step process. If the vehicle cannot be lifted safely, have it towed to a shop.
1. Rinse visible mud and grit
Use low-pressure clean water to rinse the wheels, underbody, brake areas, and suspension arms.
Do not aim high-pressure water directly into:
Wheel bearings
Brake calipers
Rubber boots
Electrical connectors
Seals
High pressure can force water deeper into parts.
2. Check brake pedal feel before moving the vehicle
With the engine off, press the brake pedal several times. It should feel firm after a few pumps.
Then start the vehicle only if it has already passed the safety checks. Press the brake pedal again. It should drop slightly and then hold firm.
Warning signs include:
Pedal goes to the floor
Pedal feels spongy
Pedal slowly sinks while held
Brake warning light stays on
Grinding or scraping when braking
Vehicle pulls left or right
Any of these signs call for a brake inspection before driving.
3. Inspect brake rotors and drums
Disc brakes use rotors. Drum brakes use round drum housings. Both can rust quickly after flooding.
Surface rust on rotors can appear overnight. Light orange rust may scrub off after a short drive, but only if the brakes are otherwise safe. Heavy rust, deep grooves, or flaking metal need repair.
Look for:
Mud packed around calipers
Rusty rotor surfaces
Uneven rotor color
Brake pads separating from their backing plates
Wet drums
Stuck parking brake parts
Brake pads and shoes can absorb water and debris. If they were submerged in dirty or salty water, replacement is often safer than cleaning.
4. Look at brake lines and hoses
Brake lines carry brake fluid. Hoses allow movement at the wheels. Floodwater can speed up corrosion on metal lines and damage already weak rubber hoses.
Check for:
Rust blisters on metal lines
Wet spots near fittings
Cracked rubber hoses
Swollen hose sections
Loose clips or brackets
Brake fluid should not look milky. If water enters the brake fluid system, it lowers braking performance and can cause corrosion inside brake parts. A mechanic can test fluid condition and flush it if needed.
5. Check wheel bearings for noise and play
Wheel bearings let the wheels spin smoothly. They contain grease and seals. Floodwater can push grit past the seals or wash grease away.
With the vehicle safely lifted and supported, hold a tire at the 12 o’clock and 6 o’clock positions. Rock it in and out. Then hold it at 3 o’clock and 9 o’clock and repeat.
Watch for:
Clunking
Looseness
Rough rotation
Grinding
Growling while driving
Heat at one wheel after a short drive
A bad wheel bearing may get louder with speed. It may also change tone when turning. Do not ignore it. A failed bearing can affect steering and wheel control.
6. Inspect suspension joints and rubber boots
Suspension parts control ride height, steering, and tire contact. Floodwater can damage rubber boots that protect joints.
Check:
Ball joint boots
Tie rod boots
Shock and strut bodies
Control arm bushings
Sway bar links
Springs and mounting points
Look for torn rubber, rust trails, bent parts, oily leaks, or mud packed into joints. If a boot is torn, water and grit can enter the joint. That part may fail later even if it feels fine today.
7. Test at low speed in a safe area
Only do this after the vehicle passes basic checks.
Drive slowly in an open area. Brake gently. Turn left and right. Listen and feel.
Stop if you notice:
Pulling while braking
Grinding
Steering shake
Clunking
Warning lights
Burning smell
Wheel heat
After the test, carefully check wheel areas for heat. Do not touch brake parts directly. They can burn skin. Use caution and compare wheel temperatures by feel near the wheel, not on the brake rotor.

Clean and protect electrical connectors
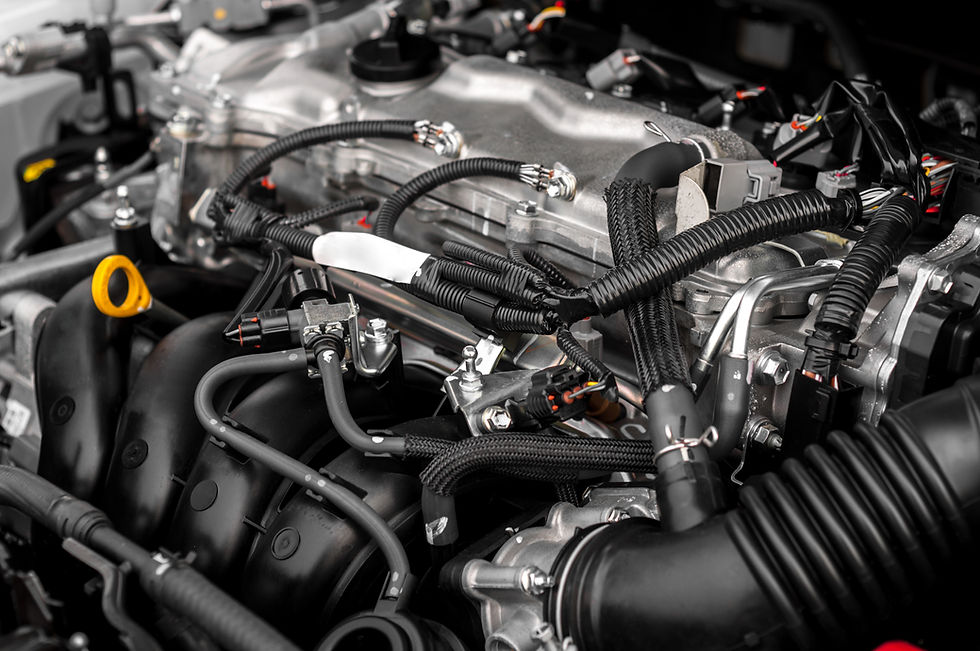
Modern vehicles depend on electrical connectors. They control lights, sensors, windows, airbags, fuel systems, engine management, and safety features. Water in connectors can cause corrosion and false signals.
Do not assume the electrical system is fine because the vehicle starts. Corrosion can grow over days or weeks.
Focus on low and exposed connectors
Start with connectors that were near the water line or below it.
Common locations include:
Under seats
Behind kick panels near the feet
In the trunk
Near headlights and taillights
Around wheel wells
Under the dashboard lower edge
Near the transmission
Along frame rails
Around the fuel tank
If water reached the seats, seat wiring may be affected. Many vehicles have seat belt and airbag-related wiring under or near the seats. Do not probe those circuits with random tools. Have a trained technician inspect them.
Use the right supplies
Use basic, safe materials:
Electrical contact cleaner
Soft nylon brush
Clean microfiber towels
Compressed air from a can or low-pressure air source
Dielectric grease
Nitrile gloves
Small plastic trim tools
Do not use household oil, heavy grease, or harsh solvents. They can damage plastics and rubber seals.
Clean connectors the right way
How to clean a connector matters as much as what cleaner you use.
Disconnect the battery.
This helps prevent shorts while connectors are open.
Open one connector at a time.
This avoids mixing up connections.
Inspect for water, mud, and green or white corrosion.
Green or white powder is a common corrosion sign on metal terminals.
Spray electrical contact cleaner.
Let it carry dirt away. Hold a towel below the connector.
Brush gently if needed.
Do not scrape hard. Damaged terminals may not fit tightly again.
Dry the connector fully.
Use low-pressure air. Let it sit open until no moisture remains.
Apply dielectric grease to the seal area.
Use a thin layer. Do not pack the connector full of grease.
Reconnect until it clicks.
A loose connector can trigger warning lights or cause intermittent faults.
Dielectric grease helps protect against moisture around seals. It does not repair corroded terminals. Replace connectors with heavy corrosion, broken locks, or loose pins.
Watch for electrical warning signs
Electrical flood damage often shows up as random faults.
Common signs include:
Flickering lights
Windows that move slowly or stop
Door locks cycling by themselves
Warning lights that come and go
No-start condition
Weak starter sound
Blown fuses
Burning plastic smell
Radio, fan, or wipers acting on their own
If airbag, brake, steering, or stability control warning lights stay on, do not treat the vehicle as safe. Those systems matter in a crash or emergency stop.
When to stop and call a professional
Some flood damage is beyond driveway inspection. Stop and get help when:
Water reached the dashboard
The engine took in water
Transmission fluid is milky
Differential fluid is milky
Brake pedal feels soft or sinks
Airbag or brake warning lights stay on
You find heavy corrosion in connectors
The vehicle smells burnt
Wheel bearings grind or feel loose
Salt water was involved
Salt water is highly corrosive. It attacks electrical terminals, fasteners, brake parts, and body seams. A saltwater-submerged vehicle can become unreliable even after it runs again.
For shared experiences, inspection notes, and practical vehicle recovery discussions, visit the Amindus Consulting forum.

FAQ
Can a flood damaged vehicle be safe to drive again?
Yes, but only after a proper inspection and repairs. The transmission, brakes, bearings, suspension, and electrical systems must be checked. A vehicle that starts and moves can still have unsafe brakes or hidden corrosion.
Is milky fluid always a bad sign?
Yes. Milky transmission, differential, or brake fluid usually points to water contamination. That fluid no longer protects parts correctly. The system needs inspection, draining, and possibly repair.
Should I replace brake pads after flooding?
Replace them if they were submerged in muddy, dirty, or salty water, or if the friction material is cracked, loose, swollen, or uneven. Clean water exposure may only need drying and inspection, but safety comes first.
Can I use regular grease on electrical connectors?
No. Use dielectric grease made for electrical connectors. Apply a thin layer around the seal area after the connector is clean and dry. Do not fill the connector cavity with grease.
How soon does corrosion start after flooding?
Corrosion can start quickly, especially with salt water or dirty water. Electrical issues may not appear right away. That is why drying and cleaning connectors soon after exposure matters.
The clear takeaway
Flood assessment is about fluids, friction, movement, and electricity. Check transmission and differential fluid for water. Inspect brakes, bearings, and suspension before driving. Clean and dry electrical connectors before corrosion spreads.
If the water reached major systems or warning lights remain on, do not gamble. Tow the vehicle to a qualified repair shop and get a written inspection. Hidden flood damage gets more expensive when the vehicle is driven before it is checked.



Comments